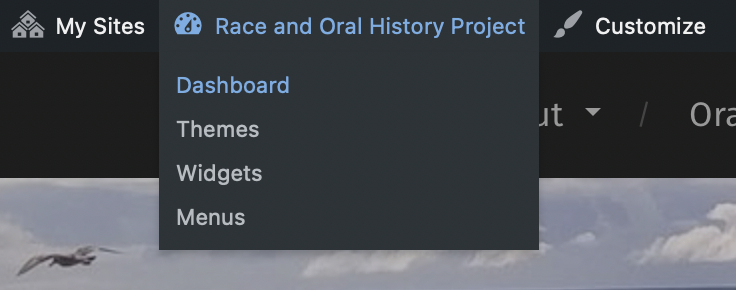
To create your blog post, login to KNIT using your UCSD credentials at the top left corner of https://ucsdcbox-dev.wc.reclaim.press/rohp/, then go to “Race and Oral History Project” on the top left of the page, and click on “Dashboard” on the dropdown menu. Refer to Step 1: Getting Started with KNIT for more information.

From the Dashboard, go to “Posts” on the left-hand menu and click on “Add New”. You should now be directed to the text editor.
Use this order for your blog post:
- Oral history description (synopsis)
- Audio file
- Oral history transcript
Start by filling out the page with a title and the text of your post. The title of the blog post is “[first name of interviewee] [last name of interviewee] Oral History.” Consistent titles are important to the navigation and discoverability of the post.
Click “+” button in blue to add a block below the title, then click on the “Paragraph” option. This new block will be where you add your interview synopsis. Refer to 3.3 Write the Interview Synopsis for more details.
When you are finished typing the title and interview synopsis, your oral history post should look like this:
Next, you should attach your audio file into the post.
Below the interview synopsis on your oral history post, click on the + (plus sign) button to add media, from there select audio or you can type “audio” into search box.
After selecting “Audio” you should have the option to upload the file of your oral history interview.
The filename should be in this format: LastnameFirstname_Date(4-digit year, 2-digit month, 2-digit day)_Interview#_File# (for interviews with more than one part)
For example, FloresSylvia_2020-04-29_01.mp4
It’s important to use consistent filenames so that the files are easy to manage and locate over time (and as more oral histories are added to the site).
Note: There is a 300MB file size limit. This may require you to upload the audio file in parts, and it may take a while to upload the file(s).
Once published, you should see a media player as pictured below with the time duration of your oral history interview.
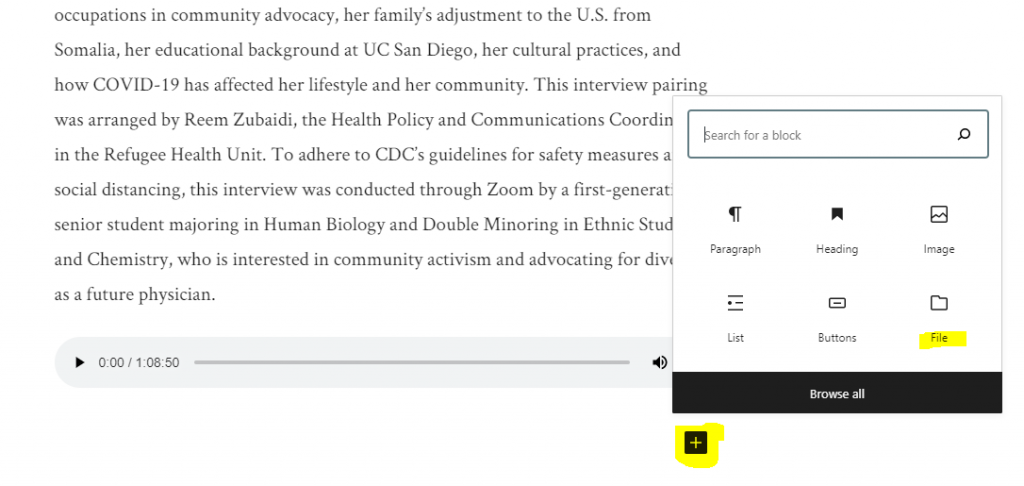
Next, you will be adding the transcript. Once again, click on the plus sign. Select “File” or search for file in the block search box. Upload a pdf of the transcript. Be sure to use the filename [LastnameFirstname of the interviewee]-transcript.pdf

After the title, interview synopsis, audio file, and transcript are added to the blog post, you can move on to 5.2 Add the featured image and category tags to your post.


